1. Gather All Necessary Tools
Before diving into the installation process, make sure you have the right tools at hand. You generally need the following:
- Phillips Head Screwdriver
- Anti-static wrist strap
- Tweezers (optional)
- Cable ties (for organization)
- Soft lint-free cloth (for cleaning)
- Your computer parts (processors, memory, etc.)
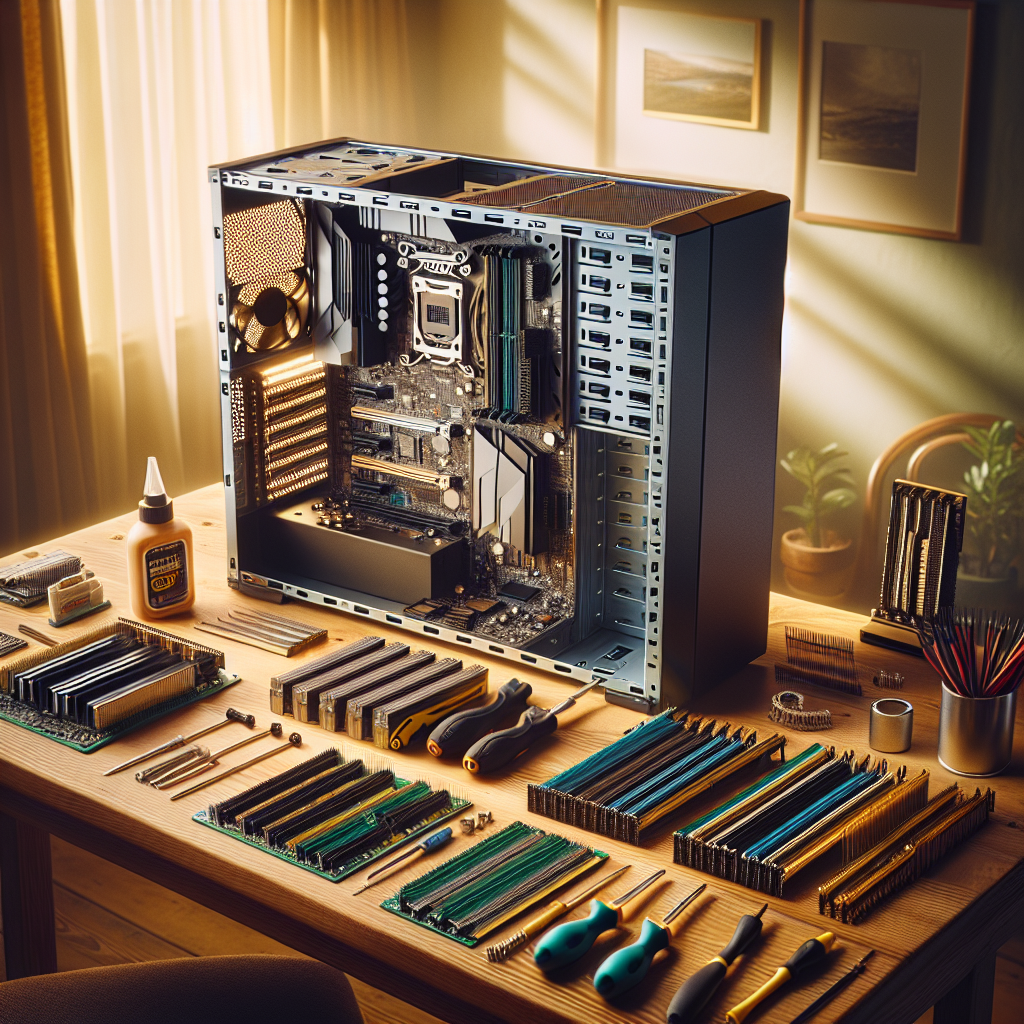
2. Prepare Your Workspace
Choose a clean, clutter-free workspace that has good lighting. Ensure that you have plenty of room to maneuver and that all tools and parts are within arm's reach. An anti-static mat can provide additional protection for sensitive components.
3. Turn Off and Unplug Your Computer
First and foremost, safety is key. Always turn off your computer and unplug it from the power source before starting any installation. This reduces the risk of electric shock and protects your components from potential damage.
4. Use an Anti-Static Wrist Strap
Static electricity can be damaging to computer parts, particularly the CPU and memory. By using an anti-static wrist strap, you ground yourself and prevent static discharge. Clip one end to your wrist and the other to a metal part of your case before beginning the installation.
5. Handle Components with Care
When handling components such as processors and memory, always hold them by the edges. Avoid touching the gold connectors and any exposed circuitry to minimize the risk of damage. Remember that many modern components are delicate and require careful handling.
6. Follow Installation Guides
Each component comes with its own set of instructions tailored for proper installation. If you’re working with an Intel or AMD CPU, ensure you follow the specific guidelines for your specific model. For RAM installation, make sure you are inserting the modules into the correct slots specified by your motherboard's manual, which can also impact performance.
7. Keep Cable Management in Mind
As you install components, think about cable management. Loose cables can impede airflow, causing overheating. Use cable ties to bundle cables neatly and route them to enhance airflow within the case. A tidy interior not only looks professional but also improves cooling efficiency.
8. Double-Check Connections
After installing each component, double-check all connections. Ensure that all cables are securely connected and that components like the CPU and RAM are properly seated in their slots. This step prevents many common issues that arise from loose connections.
9. Install Software and Drivers
Once your hardware installation is complete, power on your machine and install the necessary drivers to allow those new parts to function as intended. For example, if you’ve installed a new graphics card, ensure you download the latest drivers from the manufacturer's website for optimal performance.
10. Conduct a Performance Check
After installation, it’s a good idea to monitor the system’s performance. Check all components are recognized correctly by the operating system. You can use various benchmarking tools available online to ensure everything is functioning as expected.
Conclusion
By following these best practices for installing computer parts, you can ensure that your upgrades or custom builds are done safely and successfully. Investing time into the installation process will yield the best performance from your new parts.
For high-quality computer parts at competitive prices, explore our extensive range at [Your Website Name]. Whether you're after Apple laptop processors, Intel and AMD CPUs, or memory, we've got you covered.