Introduction
Building or upgrading a desktop computer is an exciting project for tech enthusiasts and casual users alike. Whether you're looking to enhance your gaming experience, improve productivity for work, or build a system that meets specific needs, understanding the components and their compatibility is crucial. At [Your Website Name], we provide a comprehensive range of computer parts, including processors for Apple laptops, Intel and AMD CPUs, memory, and more—all at competitive prices. Here’s a handy guide to help you through the building and upgrading process.
Step 1: Define Your Purpose
Before you start choosing components, it's essential to identify the primary purpose of your computer.
- Gaming: This will require a powerful GPU, an appropriate CPU, and ample cooling systems.
- Content Creation: Look for a multi-core processor and a substantial amount of RAM.
- General Use: If you're mainly browsing, streaming, or using office applications, you might not need the highest specs available.
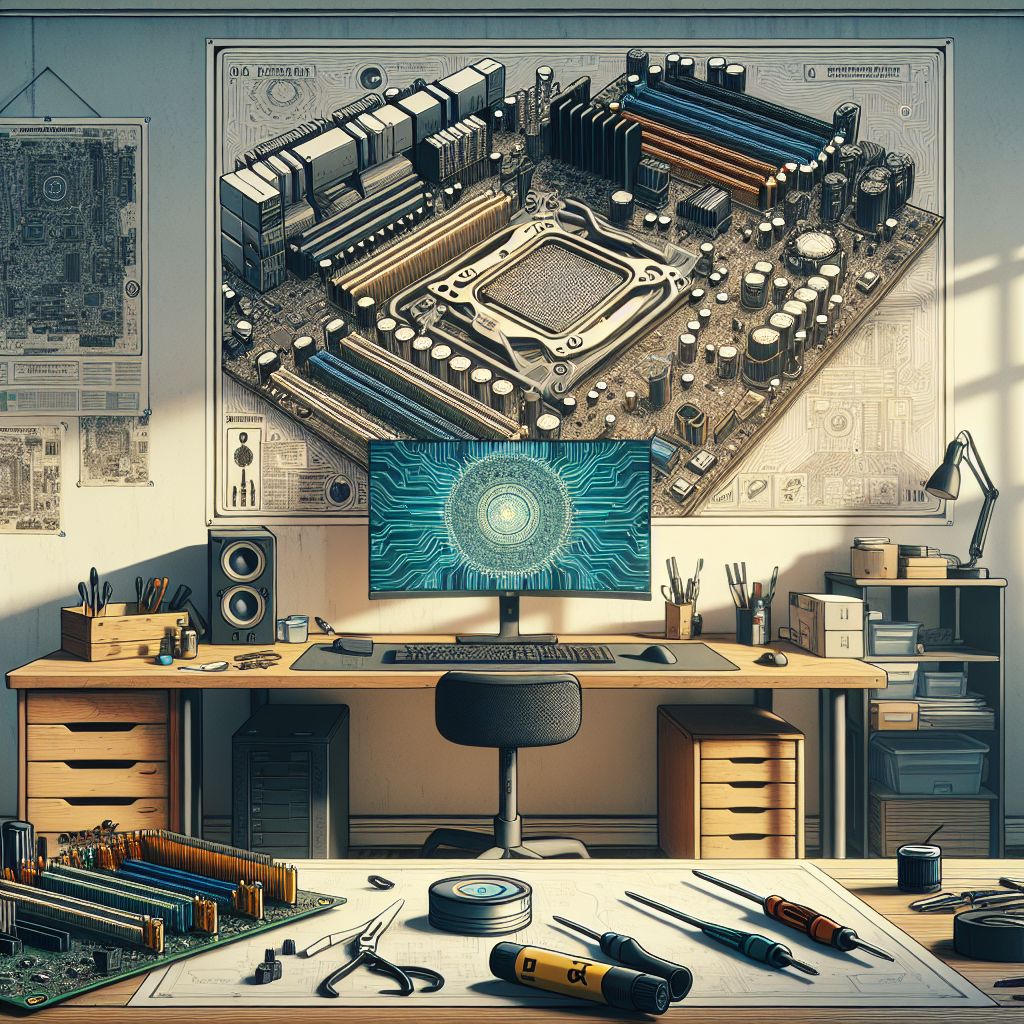
Step 2: Choose the Right Components
Once you know the purpose, you can select the components:
1. CPU (Processor): Choose between Intel and AMD based on your preference and budget. The CPU affects your system’s performance significantly. Look for the latest generation processors for better performance and efficiency.
2. Motherboard: Make sure it is compatible with your chosen CPU. Consider features like expansion slots, USB ports, and Ethernet connections. Asus, MSI, and Gigabyte are popular brands.
3. Memory (RAM): Depending on your workload, choose between 8GB and 32GB of RAM. For gaming and content creation, more is usually better. DDR4 is currently the standard, but newer options like DDR5 may be available.
4. Graphics Card (GPU): A high-performance GPU is crucial for gaming or graphic-intensive tasks. Nvidia and AMD offer a variety of options while ensuring you get the best performance for your budget.
5. Storage: Decide between an SSD for speed and an HDD for storage capacity. Many users prefer a combination of both (SSD for OS and apps, HDD for files).
6. Power Supply (PSU): Ensure your PSU can handle the power requirements of your components. A good rule of thumb is to get a PSU that exceeds your system's wattage needs by at least 20%.
7. Cooling Solutions: Keep your PC running smoothly with adequate cooling. Stock coolers may be sufficient for some CPUs, but aftermarket coolers can provide better cooling efficiency and lower noise levels.
8. Case: Finally, choose a case that fits your components and has adequate airflow. Mid-tower cases are popular for their balance of size and expandability.
Step 3: Assembly
Once you have all the parts, it’s time to put them together. Here are some quick tips:
- Prepare Your Workspace: Find a clean, static-free area to work on your build.
- Follow Manuals: Each component usually comes with a manual—follow the instructions for installation, especially for the motherboard.
- Be Patient: Don’t rush the installation. Take your time to connect cables properly and ensure everything is seated correctly.
Step 4: Install the Operating System and Drivers
After building your computer, power it on and enter the BIOS to ensure all components are detected. Install your preferred OS, whether it's Windows, Linux, or macOS on Apple hardware. Don’t forget to install all necessary drivers for your motherboard and components to ensure optimal performance.
Step 5: Upgrade vs. Build
If building from scratch feels overwhelming, upgrading your current setup can often yield significant improvements with less effort. Common upgrades include:
- Adding more RAM
- Replacing HDD with SSD
- Upgrading the GPU
Conclusion
Building or upgrading your desktop computer can enhance your user experience significantly. At [Your Website Name], we offer a variety of components at competitive prices, whether you're starting fresh or just looking to enhance your current system. Reach out to us for any questions or guidance on your PC building journey. Happy building!